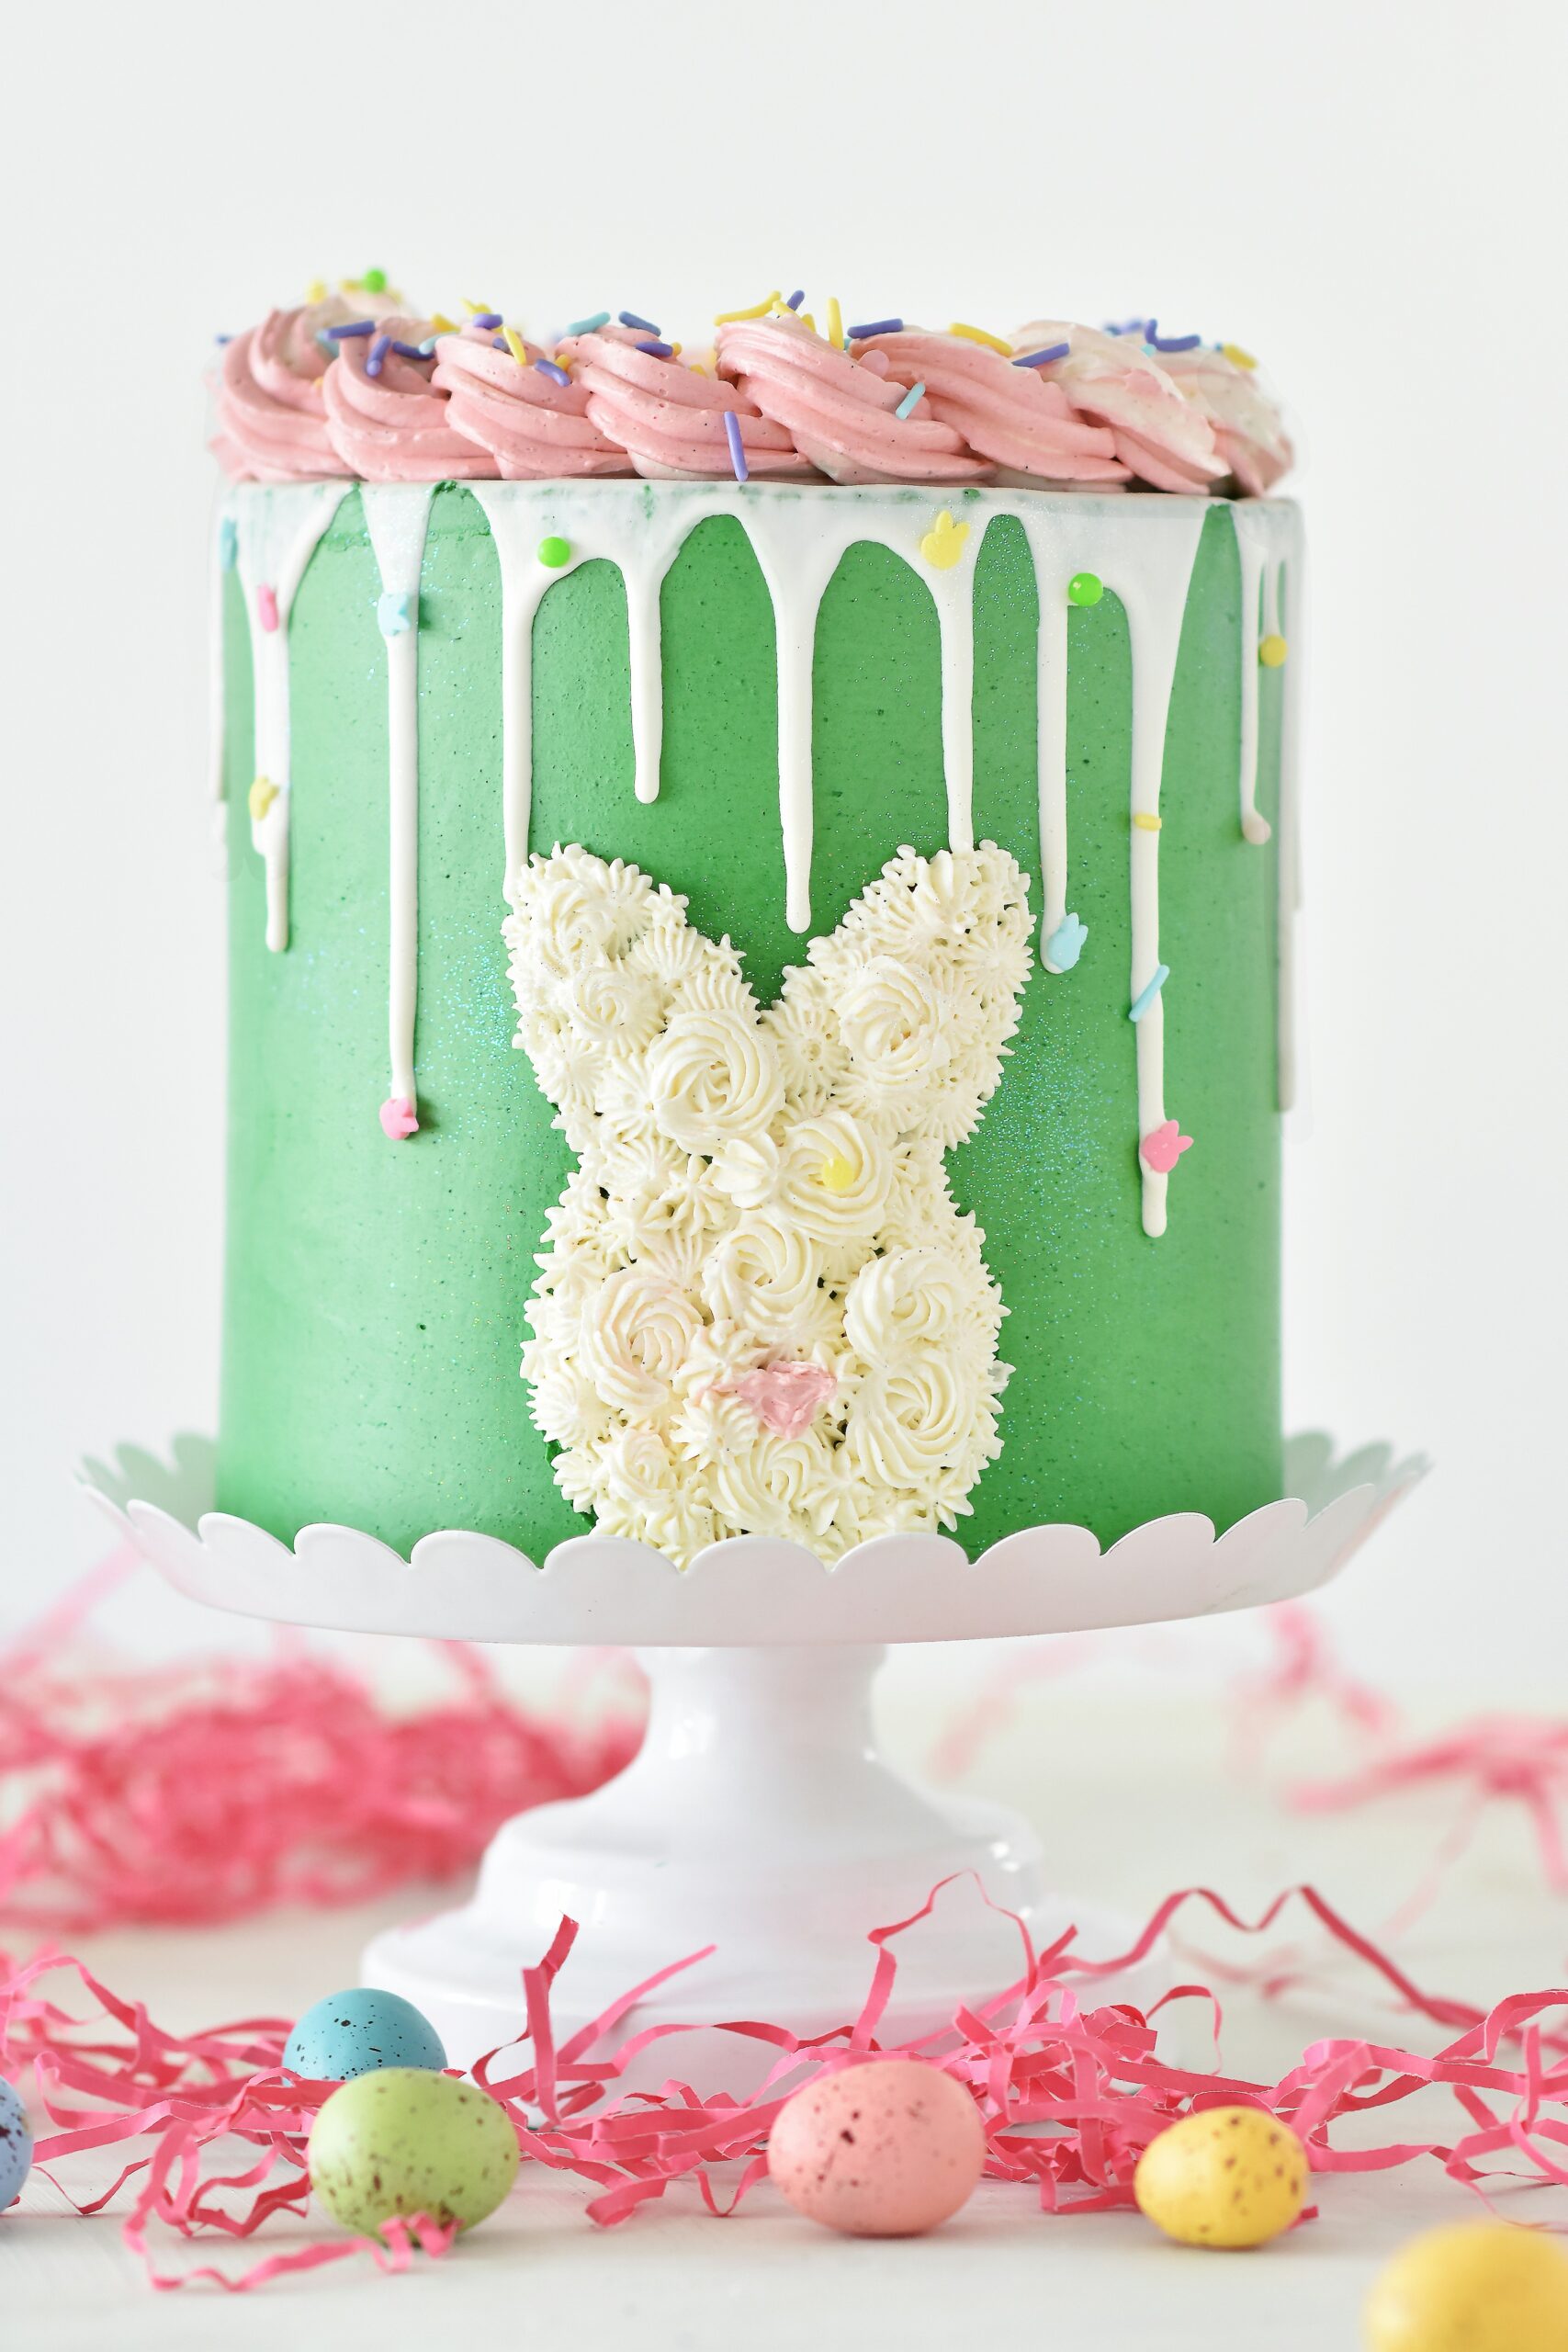

Easter is such a joyful time of year, filled with traditions, family, and of course, lots of sweets and treats. One of my favorite ways to celebrate is by making a special Easter Bunny Cake. It’s a fun activity that you can do with your kids, and the result is not only adorable but delicious too. So, grab your apron, gather the kiddos, and let’s hop into making this cute cake that will surely be the centerpiece of your Easter celebration.
What You’ll Need:
- 1 box of your favorite cake mix (plus the ingredients listed on the box to make the cake)
- White frosting (homemade or store-bought)
- Shredded coconut (for the bunny’s fur)
- Pink jelly beans (for the nose and inside of the ears)
- Black or dark-colored jelly beans (for the eyes)
- Large marshmallows (for the ears)
- Scissors (to shape the ears)
- Optional: Extra decorations like colored sprinkles for a festive touch
Step 1: Bake the Cake
Start by baking your cake according to the mix’s instructions. You can use any flavor you like, but vanilla or carrot cake are my personal favorites for this. Once your cake is baked, let it cool completely. This is very important because if you try to decorate it while it’s warm, the frosting will melt.
Step 2: Shape Your Bunny
To make your bunny shape, you can either freehand it by cutting the cake into a bunny shape or make a simple round cake and use cupcakes for the feet and tail. If you’re not comfortable cutting shapes, the round cake with cupcake feet and tail is a foolproof way to go.
Step 3: Frost Your Cake
Once your cake is cool and shaped, cover it entirely with white frosting. This will be the base for your bunny’s fur. Don’t worry about making it perfectly smooth; the coconut will cover any imperfections.
Step 4: Add the Fur
Sprinkle the shredded coconut all over the cake. This gives your bunny a fluffy fur look. Press the coconut gently into the frosting to make sure it sticks well.
Step 5: Create the Face and Ears
For the ears, cut the large marshmallows diagonally and use the pink jelly beans to make the inner part of the ears. You can stick them on the top side of the cake or on cupcakes if you’re using those for the feet and tail. Use the black or dark-colored jelly beans for the eyes, and a pink one for the nose.
Step 6: Final Touches
If you have extra cupcakes, you can use them as the bunny’s feet at the base of the cake and maybe even a fluffy tail. You can also use additional decorations like colored sprinkles to add a bit more festivity to your bunny.
And there you have it, a sweet and adorable Easter Bunny Cake that’s sure to be a hit with both kids and adults alike. Making this cake is not just about the delicious end product; it’s about spending time together, creating memories, and enjoying the spirit of Easter. So have fun with it, and don’t forget to take pictures of your masterpiece!
Wishing you and your family a happy and tasty Easter celebration!